How to Compress a Video on iPhone
iPhone videos are big — a minute of 4K can be hundreds of megabytes. Here is the fastest way to compress a video on iPhone or iPad and reduce its file size, with no computer and no quality loss you can see.
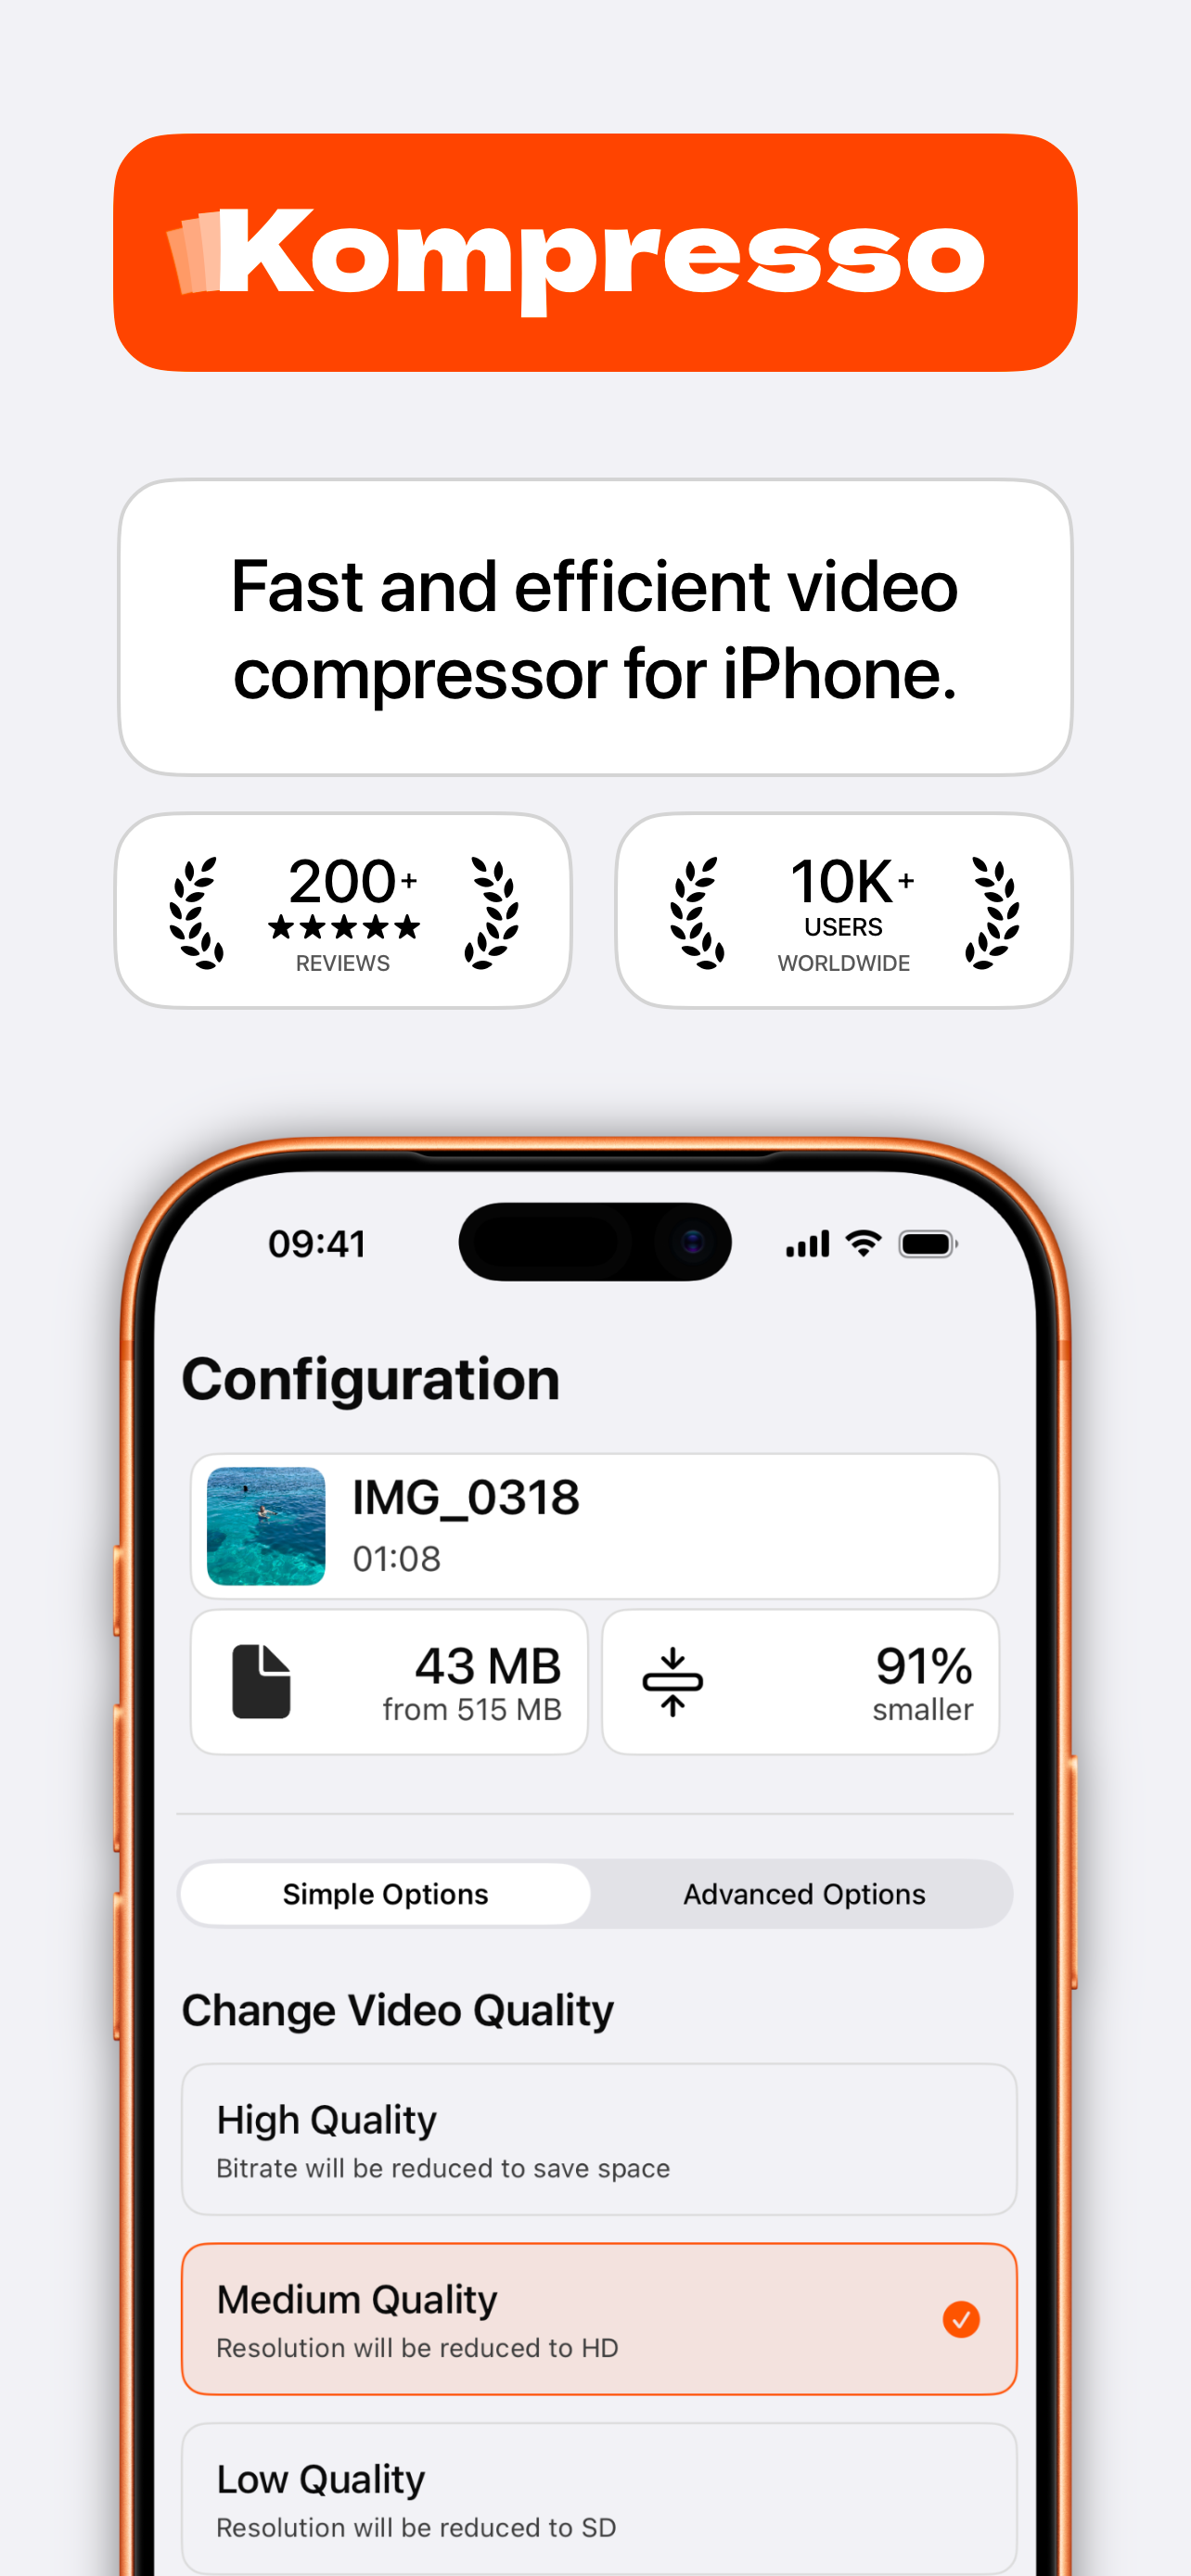
Quick answer: Install Kompresso, pick your video, choose the Medium preset (or lower the resolution to 1080p/720p), and tap Compress. A 500 MB clip typically drops to 40–90 MB in under a minute — entirely on your device.
Why iPhone videos are so large
Your iPhone records in high resolution (up to 4K) at high frame rates (30 or 60 fps), and it stores a lot of data per second to keep footage crisp. That is great for quality but terrible for sharing and storage: a one-minute 4K 60fps clip can exceed 400 MB, which is too big for email, most messaging apps, and a phone that is already low on space.
Compression fixes this by lowering the bitrate (data per second), the resolution (pixel dimensions), or the frame rate — or by re-encoding to a more efficient codec like H.265 (HEVC). The trick is doing it on-device, quickly, without shipping your private videos to a website.
The fastest way: compress on-device with Kompresso
Kompresso is a native iOS video compressor that uses Apple's hardware-accelerated encoders, so it is fast and easy on your battery. Everything happens offline — your videos never leave your iPhone. Here is the whole process:
- Open Kompresso and select your videoLaunch the app and tap to pick the clip from your Photos library. You can choose one video or several at once.
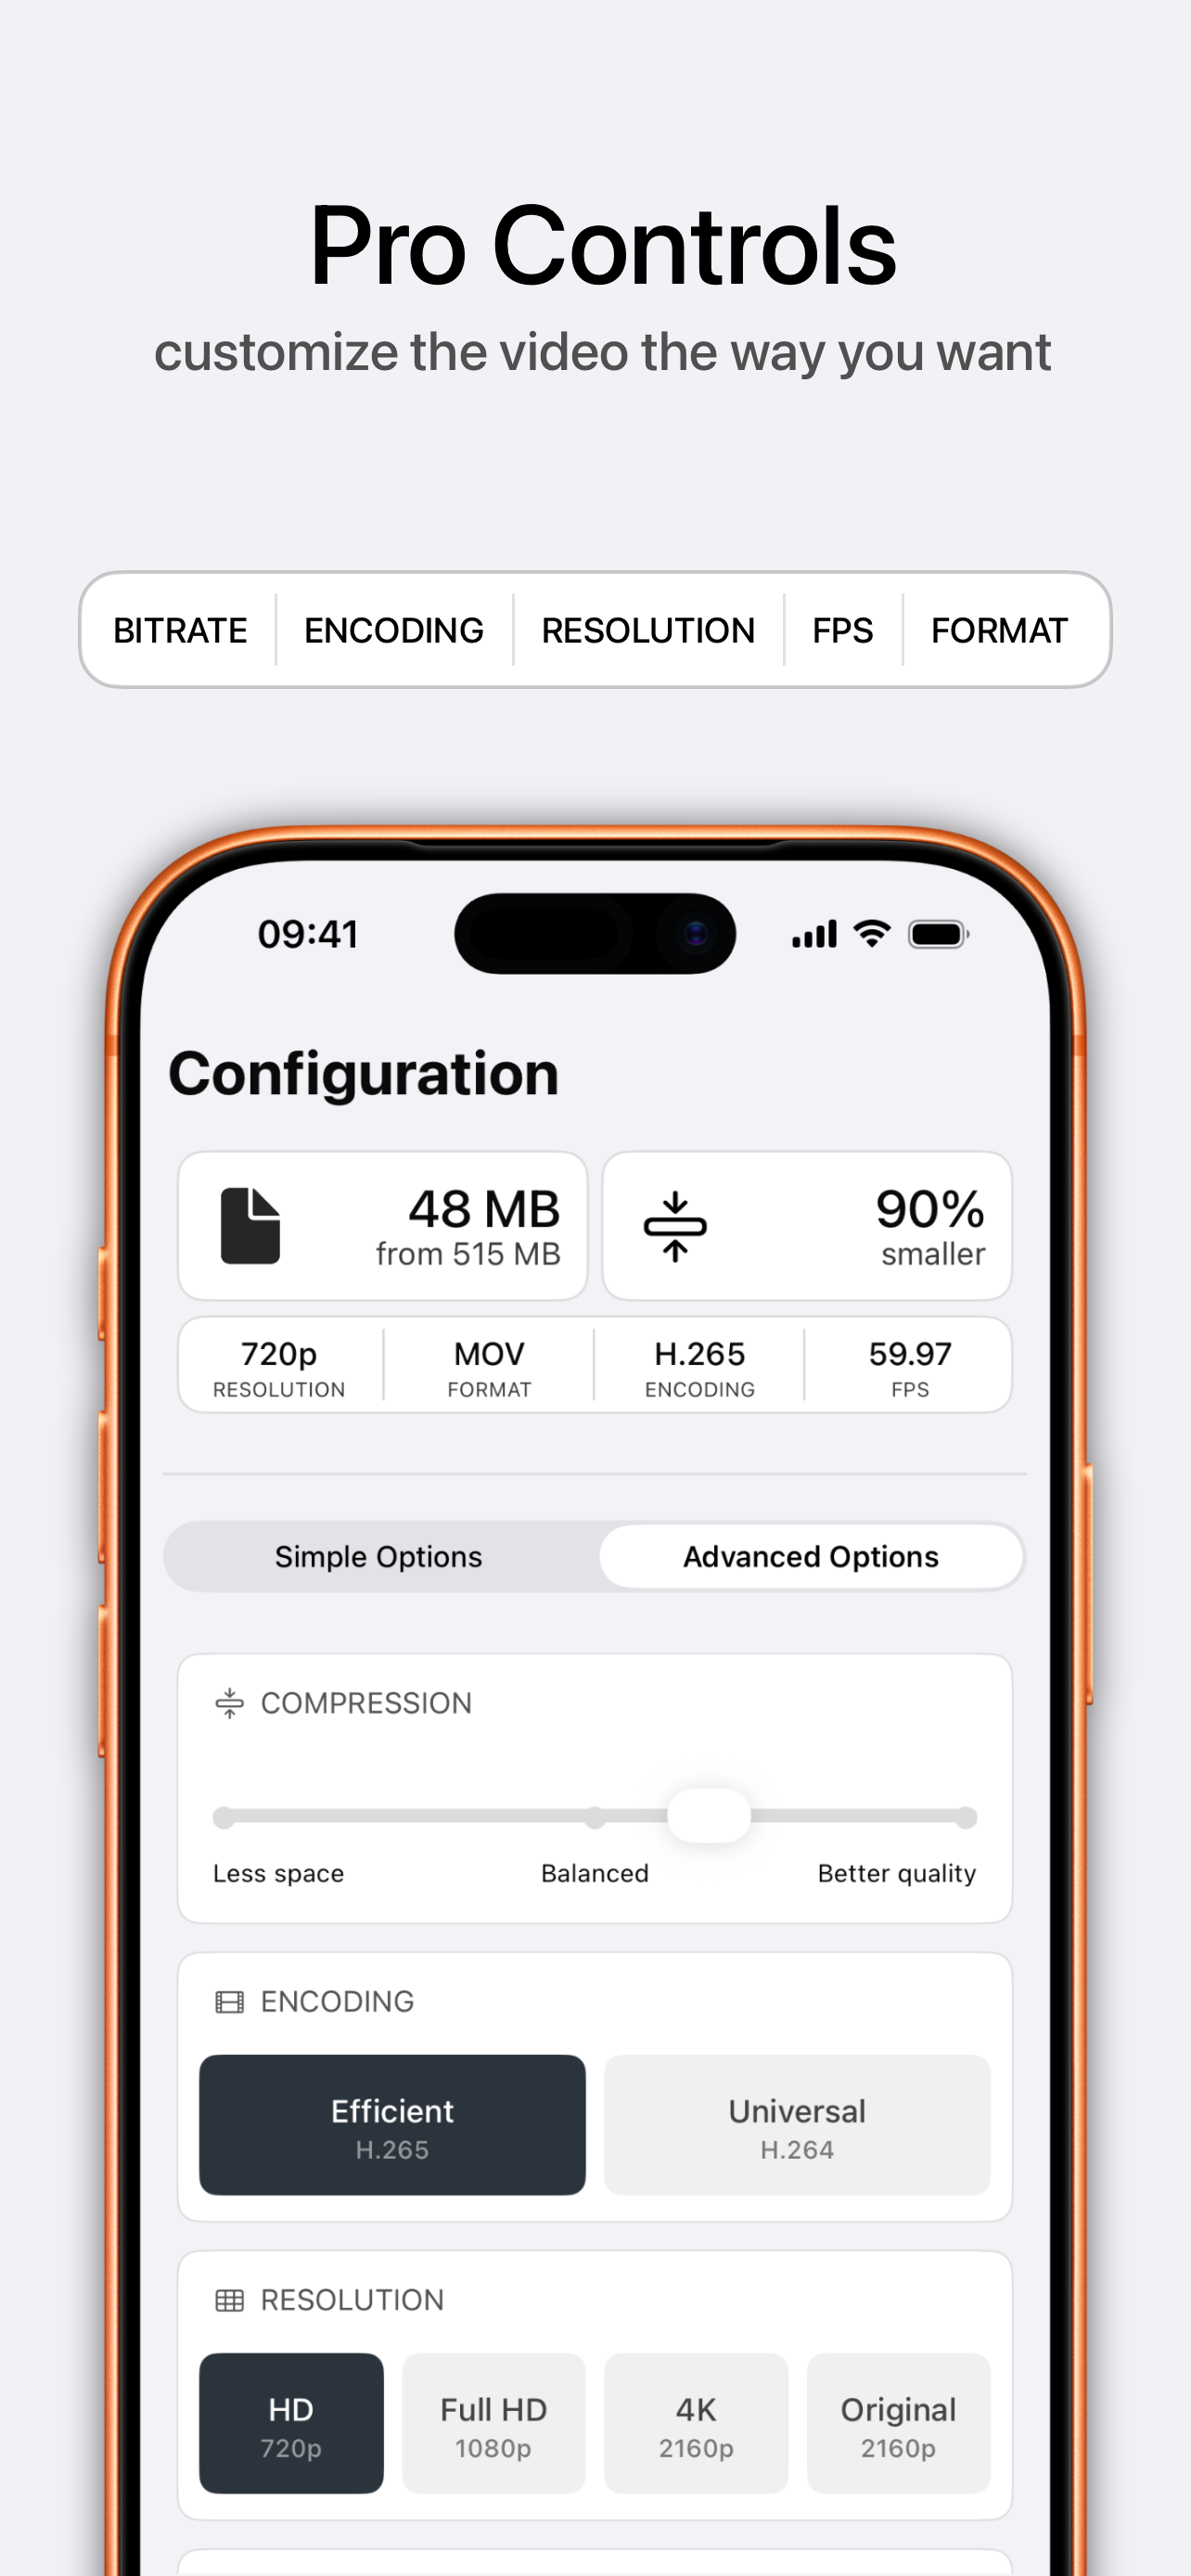
- Choose a preset or open AdvancedTap High, Medium or Low for a one-tap result, or switch to Advanced Options to set the bitrate, resolution, frame rate, format and codec yourself.
- Tap CompressKompresso uses your iPhone's hardware encoder to shrink the video fast. You'll see the new size and how much smaller it is before you save.
- Save or shareSave the compressed video back to Photos, or share it straight to email, WhatsApp, Discord and more. Toggle Delete Original to reclaim the space.

Free · offline · no watermark
Simple presets vs. advanced controls
If you just want a smaller file, the presets do everything for you:
- High quality — trims the bitrate to save space while keeping resolution high. Great when quality matters most.
- Medium quality — scales down to HD. The best all-round choice for sharing.
- Low quality — scales to SD for the smallest possible file, ideal for quick messaging.
Want full control? Open Advanced Options to set the exact bitrate, choose a resolution (720p, 1080p, 4K or Original), pick a frame rate, select a format (MP4, MOV or M4V) and choose your codec (H.264 for compatibility or H.265/HEVC for the smallest size).
How much smaller will my video get?
It depends on your source and settings, but reductions of 40–90% are typical. Dropping 4K to 1080p roughly quarters the pixel count; switching from H.264 to H.265 can halve the size again at similar quality; and lowering the bitrate scales the file down further. Kompresso shows the projected size and percentage saved before you commit, so you can dial it in.
Tip: Turn on Delete Original after compressing to instantly reclaim the space the full-size clip was using.
Does compressing reduce quality?
Only as much as you choose. For messaging and social media, a Medium preset or a 1080p H.265 export looks essentially identical on a phone screen. If you are archiving something precious, keep the resolution and only trim the bitrate slightly. See our dedicated guide on reducing file size without losing quality.